Pengujian Kit iTCLab

Pengaturan File - Preferences:
Kit iTCLab menggunakan Mikrokontroller ESP32. Silahkan di-copy dan di-paste, di FIle - Preferences, alamat berikut ini:
https://dl.espressif.com/dl/package_esp32_index.json

Pengaturan Board.
Kit iTCLab menggunakan Mikrokontroller ESP32. Jika belum muncul. Untuk menggunakan pertama kali , silahkan diinstall ESP32 di Board Manager.

Pilihan Board.
Selanjutnya, silahkan dipilih Board: DOIT ESP32 DEVKIT V1.

Program Pengujian Kit iTCLab - Program ke-2
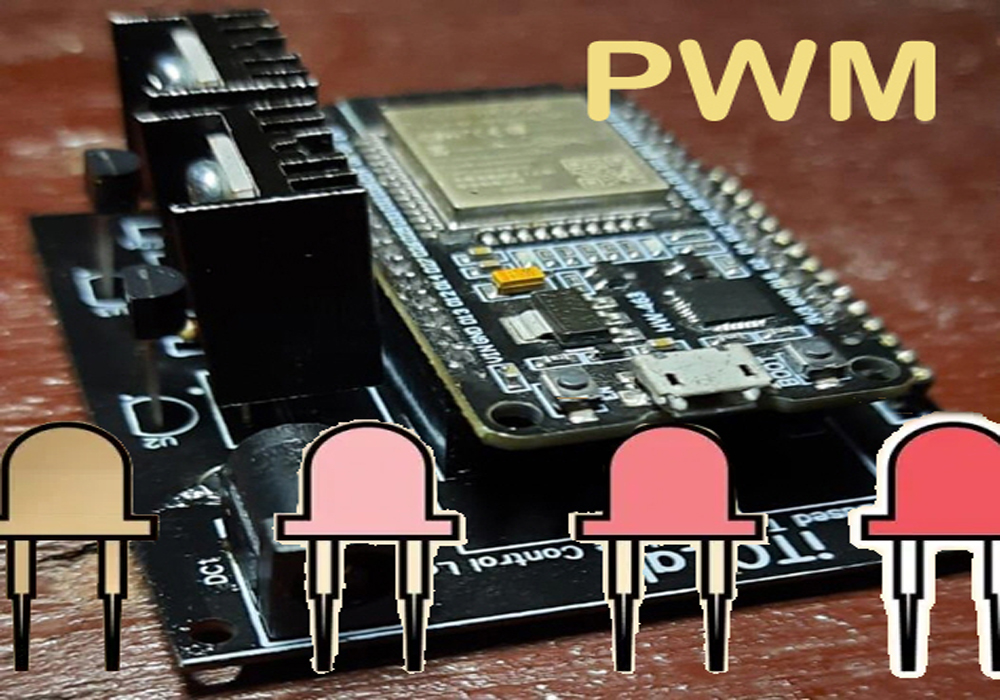
Berikut ini variasi lain, dari Program Pengujian kit iTCLab, memanfaatkan PWM Kit iTCLab.
/*************************************
 * Program : Pengujian Kit iTCLab 2
 * Menggunakan Kit iTCLab
 * Oleh : Tim io-t.net
 * Surabaya, 10 April 2022
 * ***********************************/

#include

// constants
const int baud = 115200;       // serial baud rate

// pin numbers corresponding to signals on the iTCLab Shield
const int pinT1   = 34;         // T1
const int pinT2   = 35;         // T2
const int pinQ1   = 32;         // Q1
const int pinQ2   = 33;         // Q2
const int pinLED  = 26;         // LED

// setting PWM properties
const int freq = 5000; //5000
const int ledChannel = 0;
const int Q1Channel = 1;
const int Q2Channel = 2;
const int resolutionLedChannel = 8; //Resolution 8, 10, 12, 15
const int resolutionQ1Channel = 8; //Resolution 8, 10, 12, 15
const int resolutionQ2Channel = 8; //Resolution 8, 10, 12, 15

float cel, cel1, degC, degC1;
const float batas_suhu_atas = 55;

// global variables
float Q1 = 0;                 // value written to Q1 pin
float Q2 = 0;                 // value written to Q2 pin
int iwrite_max = 25;          // integer value for writing
int iwrite_min = 0;            // integer value for writing

void setup() {
  // put your setup code here, to run once:
  Serial.begin(baud);
  while (!Serial) {
    ; // wait for serial port to connect.
  }

  // configure pinQ1 PWM functionalitites
  ledcSetup(Q1Channel, freq, resolutionQ1Channel);

  // attach the channel to the pinQ1 to be controlled
  ledcAttachPin(pinQ1, Q1Channel);

  // configure pinQ2 PWM functionalitites
  ledcSetup(Q2Channel, freq, resolutionQ2Channel);

  // attach the channel to the pinQ2 to be controlled
  ledcAttachPin(pinQ2, Q2Channel);

  // configure pinLED PWM functionalitites
  ledcSetup(ledChannel, freq, resolutionLedChannel);

  // attach the channel to the pinLED to be controlled
  ledcAttachPin(pinLED, ledChannel);

  ledcWrite(Q1Channel,0);
  ledcWrite(Q2Channel,0);
  ledcWrite(ledChannel,0);
}

void Q1on(){
    ledcWrite(Q1Channel,iwrite_max);
    //Q1 = iwrite_max/255*100;
    //Serial.println(Q1);
}

void Q1off(){
    ledcWrite(Q1Channel,iwrite_min);
    //Q1 = iwrite_min/255*100;
    //Serial.println(Q1);
}

void Q2on(){
    ledcWrite(Q2Channel,iwrite_max);
    //Q2 = iwrite_max/255*100;
    //Serial.println(Q2);
}

void Q2off(){
    ledcWrite(Q2Channel,iwrite_min);
    //Q2 = iwrite_min/255*100;
    //Serial.println(Q2);
}

void ledon(){
    ledcWrite(ledChannel,iwrite_max);
}

void ledoff(){
    ledcWrite(ledChannel,iwrite_min);
}

void cektemp(){
  degC = analogRead(pinT1) * 0.322265625 ;    // use for 3.3v AREF
  cel = degC/10;
  degC1 = analogRead(pinT2) * 0.322265625 ;    // use for 3.3v AREF
  cel1 = degC1/10;

  Serial.print("Temperature: ");
  Serial.print(cel);   // print the temperature T1 in Celsius
  Serial.print("°C");
  Serial.print("  ~  "); // separator between Celsius and Fahrenheit
  Serial.print(cel1);   // print the temperature T2 in Celsius
  Serial.println("°C");
}
void loop() {
  // put your main code here, to run repeatedly:
  cektemp();
  if (cel > batas_suhu_atas){
    Q1off();
    ledon();
  }
  else {
    Q1on();
    ledoff();
  }
  if (cel1 > batas_suhu_atas){
    Q2off();
    ledon();
  }
  else {
    Q2on();
    ledoff();
  }
  delay (100);
}
Download Program Pengujian Kit iTCLab (Program 2) dalam Arduino (silahkan klik-kanan Save link as), di sini : 02-Test_iTCLab2.ino..
Silahkan diupload ke Kit iTCLab. Silahkan cek hasilnya di serial monitor. Seharusnya hasilnya seperti gambar berikut ini.